Our Studio Reveal!
Danielle KindschiI can't believe the day is finally here to reveal our finished studio! For 8 years we worked from our unfinished basement, kitchen table, couch… basically anywhere we could find to work! It was crammed and slowly starting to take over our whole house. We dreamed of working in a bright room with endless storage options and plenty of table space to work.
In 2017 I (Danielle) closed on my first home right around the corner from my parents’ home. The first room I decided to remodel was our studio because we just couldn't wait any longer to have a space of our own! For two years we worked back and forth between both locations because I couldn't decide how I wanted to set up the room. It was a long process, but I'm so glad we took our time and made it look just how we always dreamed it would.

I won’t scare you with pictures of our prior work area, but this is a picture of the new studio room from the house listing photos. The previous owners used this room as a child's room, so it needed a little facelift from 20 years of wear and tear.
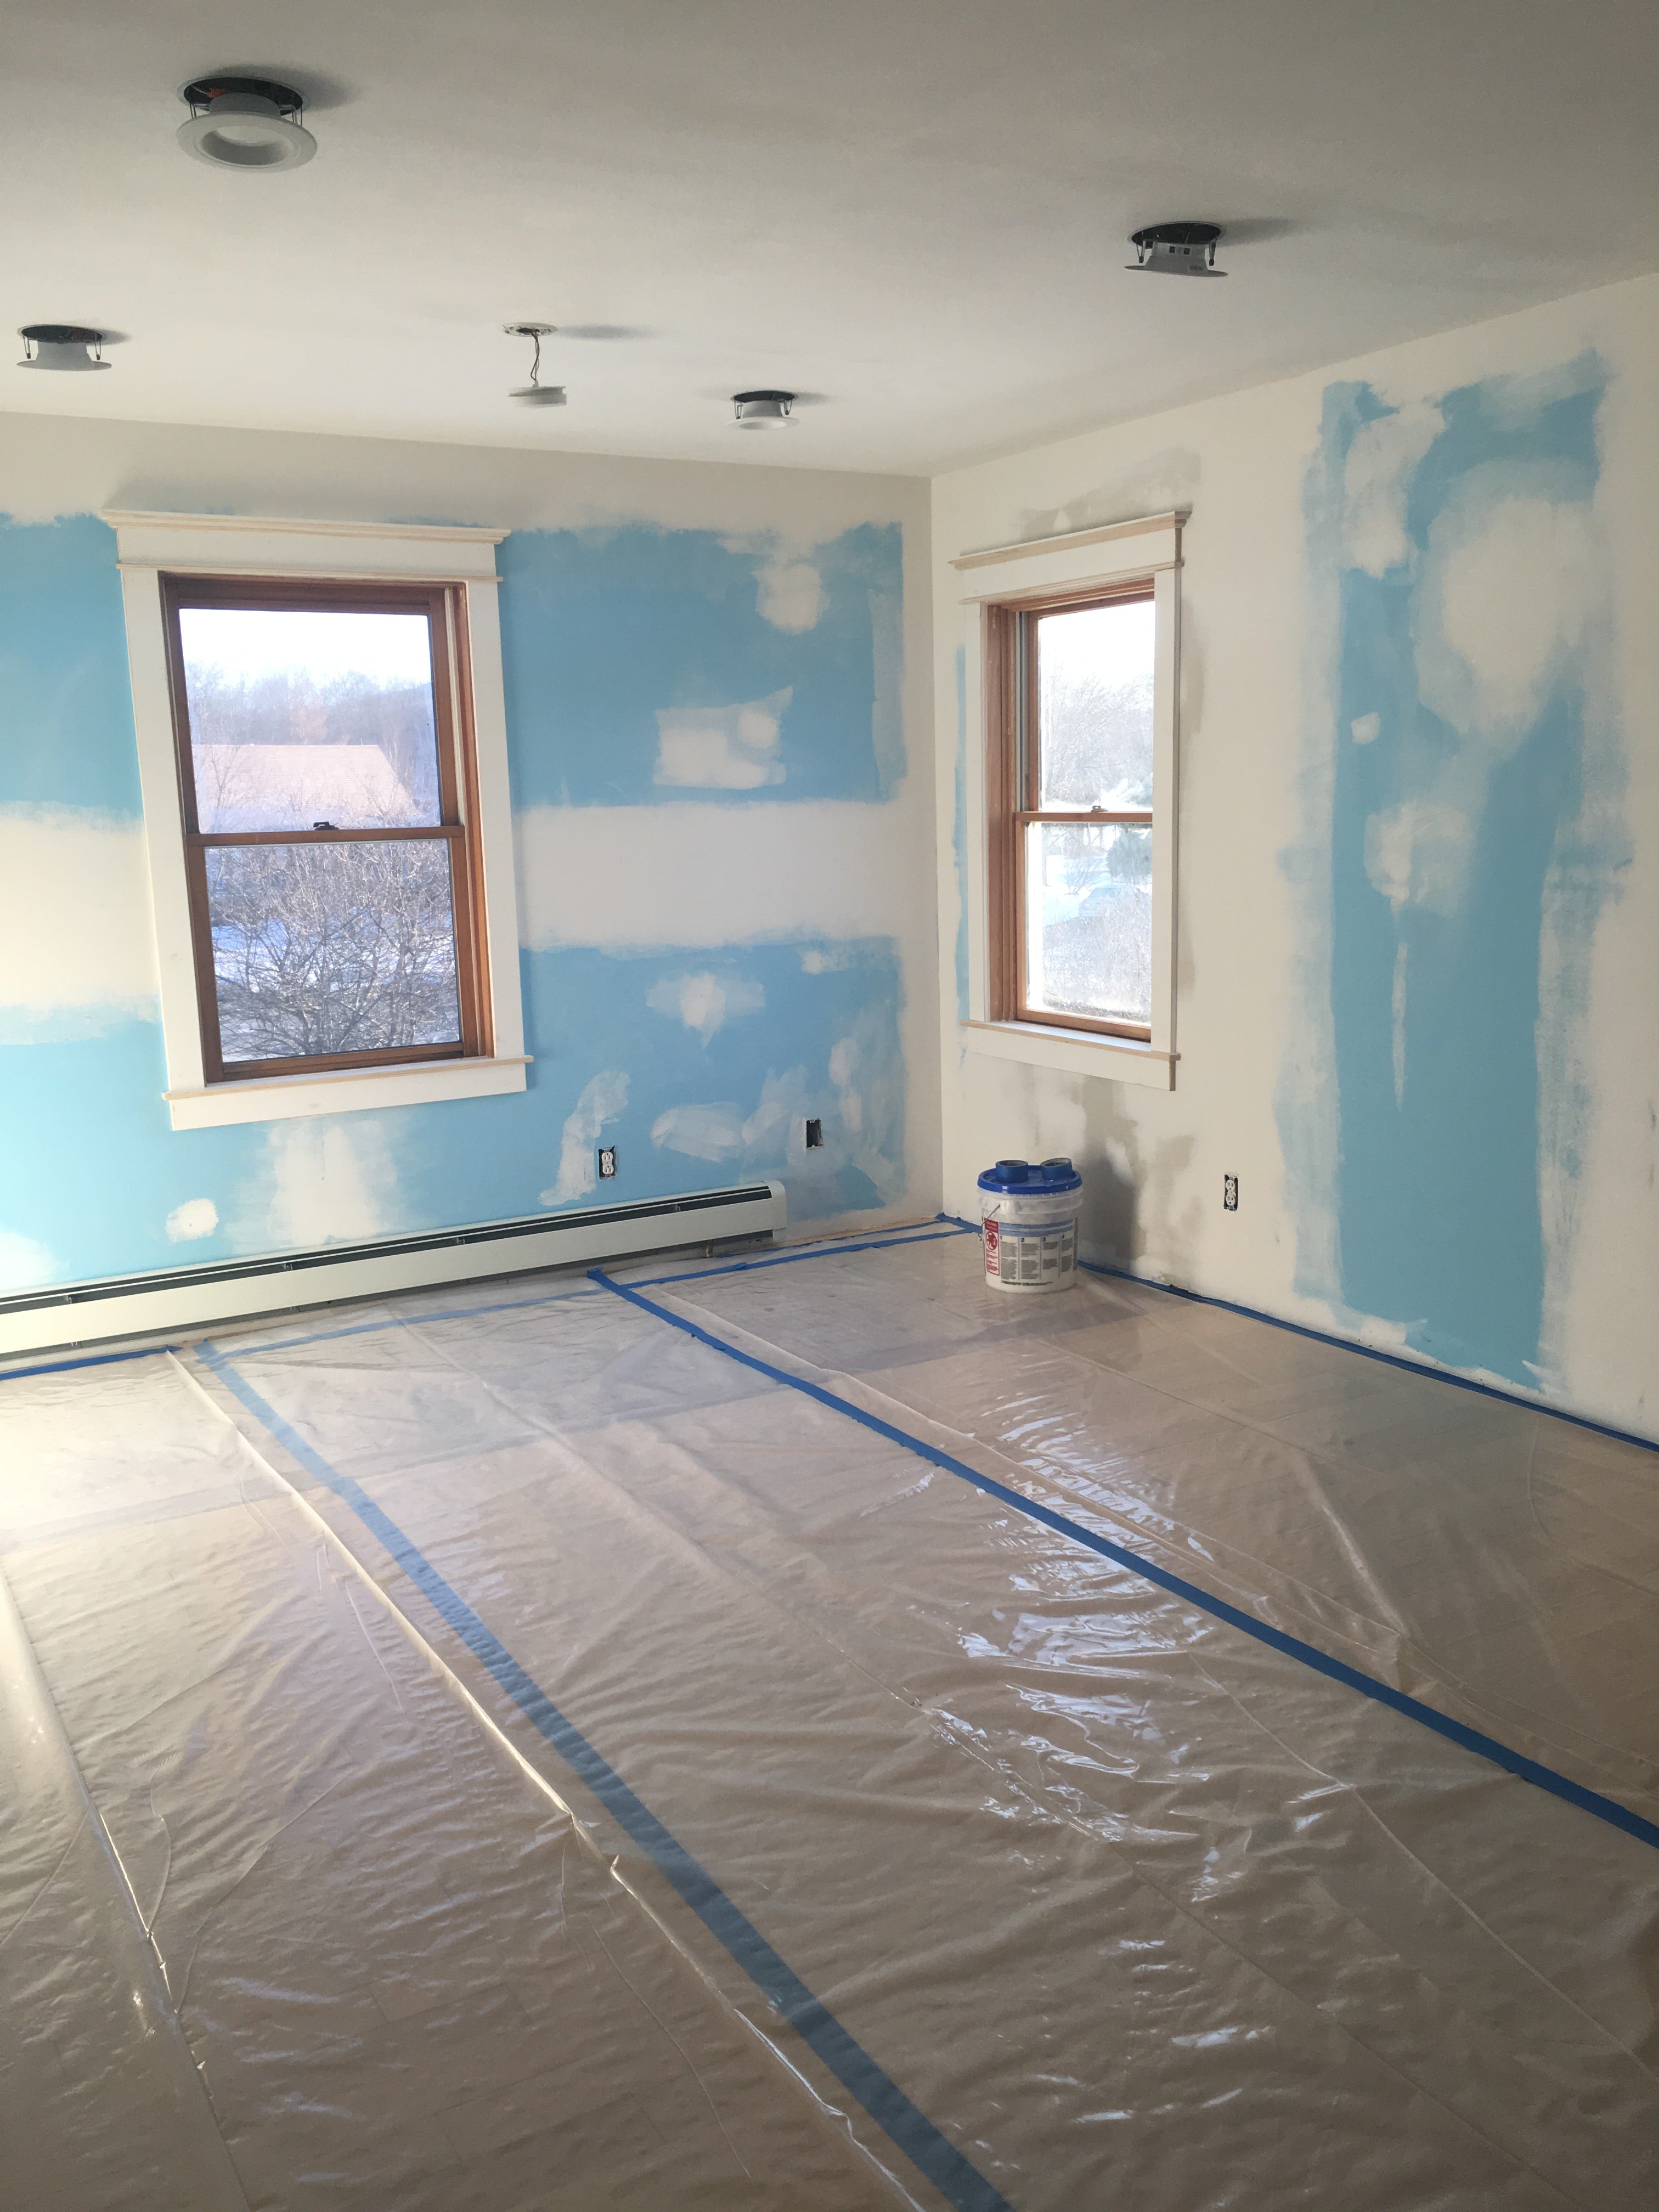
We repaired the sheetrock, replaced the trim, refinished the hardwood floors and put a fresh coat of paint on the walls, ceiling, doors, and trim.

After one year...

Are you ready for the final reveal... drumroll please!

We knew we wanted a large worktable, so we went with two Ikea LINNMON / ALEX tables back to back in the center of the room. At one end, we used an Ikea SKARSTA desk that adjusts to standing height. We love the ability able to raise it if we want to stand and work or lower it to extend our worktables.

On two opposite walls, we went with Ikea ALGOT shelving units. They have an amazing online planner tool that allows you to put in the dimensions of the space and plan out your shelving down to the pegboard accessories. It was so easy to use, and you can order straight from the planning tool, or print out a list to bring to your local store. We loved the idea of not having to commit to set shelf heights. If we need more room, we can just adjust the brackets and shelves!


I also wanted to be able to turn my chair around and easily access supplies or use my glue gun. We made room below the center for my chair to swivel under. Originally, we went with the shorter depth of 15” for the shelves at working level which matched the rest of the shelving, but ultimately replaced them with the wider 22 7/8” depth for more work space.

We also need a small office area for working at the computer and storing files so we purchased a small desk from Target and a file cabinet from Wayfair.


Our sitting area may not get much use, because let's face it, we're not relaxing at all in this room LOL, but it is one of my favorite parts of the room because it’s the first area we see when we open the door. The wood sign was custom made by The Trendy Timber and we couldn’t love it more.

We originally had a pre-built ribbon rack but upgraded to a custom wall rack that would hold all of our ribbons.

Our tips for designing your own craft room or studio space:
- Take your time! Creating a craft room is a big investment and the cost can add up quickly. You don’t have to purchase everything at once. We added large elements one step at a time. First, we purchased the worktables, then the first ALGOT wall unit, the desk area and finally the second ALGOT unit. This allowed us to make sure we had enough room between everything to work comfortably and space out the cost of the investment.
- Work in the space first to get a sense of your workflow and where things need to be located to work efficiently. We changed our plans so many times during the process because how we planned just wasn’t functional!
- Take inventory of what you have before buying. We had inventory spread out between so many different places making it impossible to know how much space we needed for storage. Gather all like items together based on how you imagine storing them to make sure what you are purchasing will hold all your inventory in one place.
- Look for pieces that are adjustable whether it be larger units like shelving or smaller pieces like drawer dividers. We’re constantly changing where things are stored based on our inventory levels, so flexibility is key to always having usable space.
- If possible, keep the area under your work area rug free. We initially purchased a rug for under the worktable because it looked good, but it just attracted dirt, scraps, pins and so on. Within a month it was filthy and out it went!
- Use clear bins wherever possible. Being able to see where everything is stored allows us to quickly find what we are looking for.
We are so thrilled with how this space turned out and never want to leave the studio! I can’t end this post without giving credit to my talented dad who did the remodeling construction on the room and my brother who assembled all of the shelving units and built us the beautiful custom ribbon rack. We hope this post inspires you for your own craft studio and are happy to answer any questions you may have. Keep in mind that it’s perfectly okay if your dream room doesn’t come overnight. It took us 10 years to get here so keep working toward your dreams and it will come!
Sources:
Paint Color: Benjamin Moore Classic Gray with Simply White trim
Gold carts: T.J.Maxx/ Homegoods
Ribbon Rack: Custom built
Shop all of our studio favorites on our Amazon Storefront HERE!
Studio photography curtesy of the amazingly talented Ally of Ally Rose Photo.

XO
Danielle & Cindy
13 comments
Hi Maria, Thank you so much! The “desk” is about 22" deep.
Hi there love the Reno! Was just wondering what the dimensions are for the desk part on your alloy where you can turn around and work. Thanks in advance. Maria
Hi! Love the ideas you share here. I’m planning out a paper crafting studio. One question, could your tabletop be the Lagkapten? I’m looking at IKEA, but the Linnmon only comes in a 39 3/8" length and your table looks much longer than that. Would you mind sharing its length? TIAA. LOVE your diaper cakes. Your website is beautiful!
It looks amazing ladies! Good work! My next project in my house, will be my sewing room/office. Great ideas that I might base my plan.
This turned out beautiful. Good job.
Renee, Topsy Turvy